 Q:
Q: What is it?
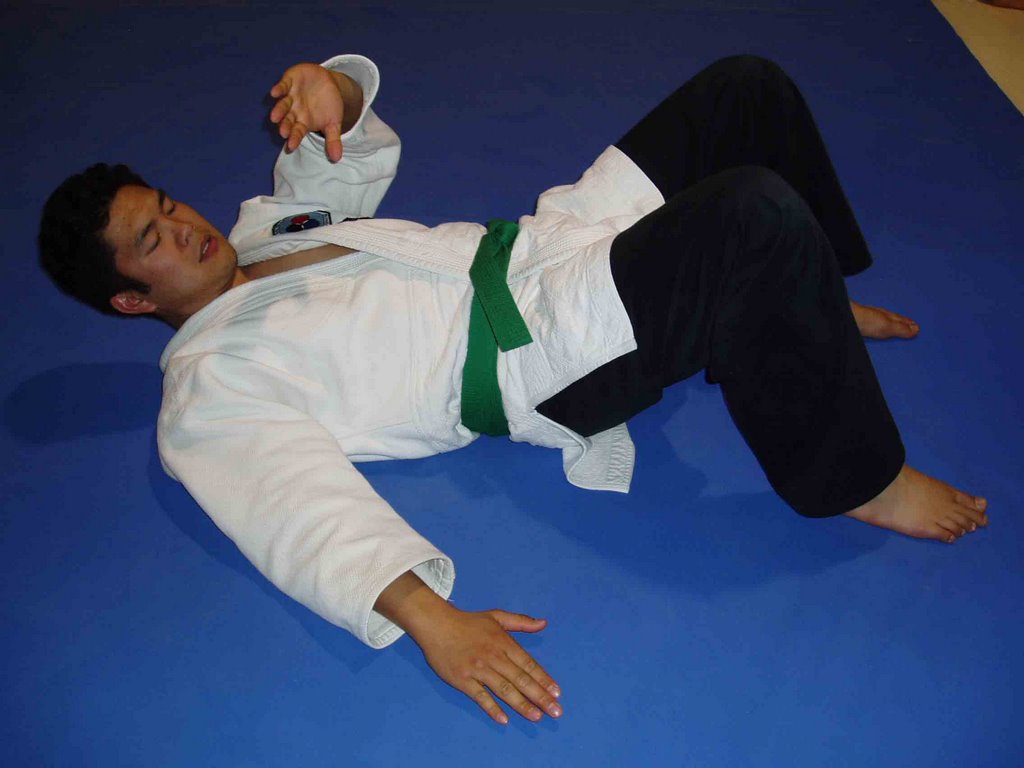
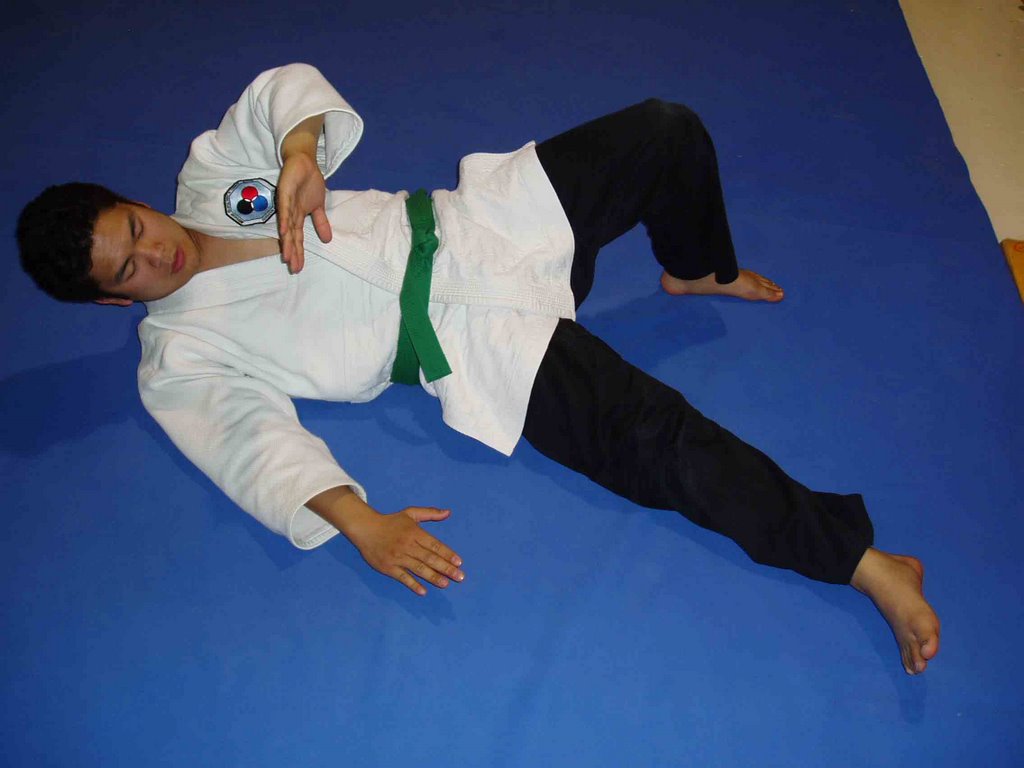
A: It's an arresting technique from Jiu-Jitsu, a Japanese martial art.
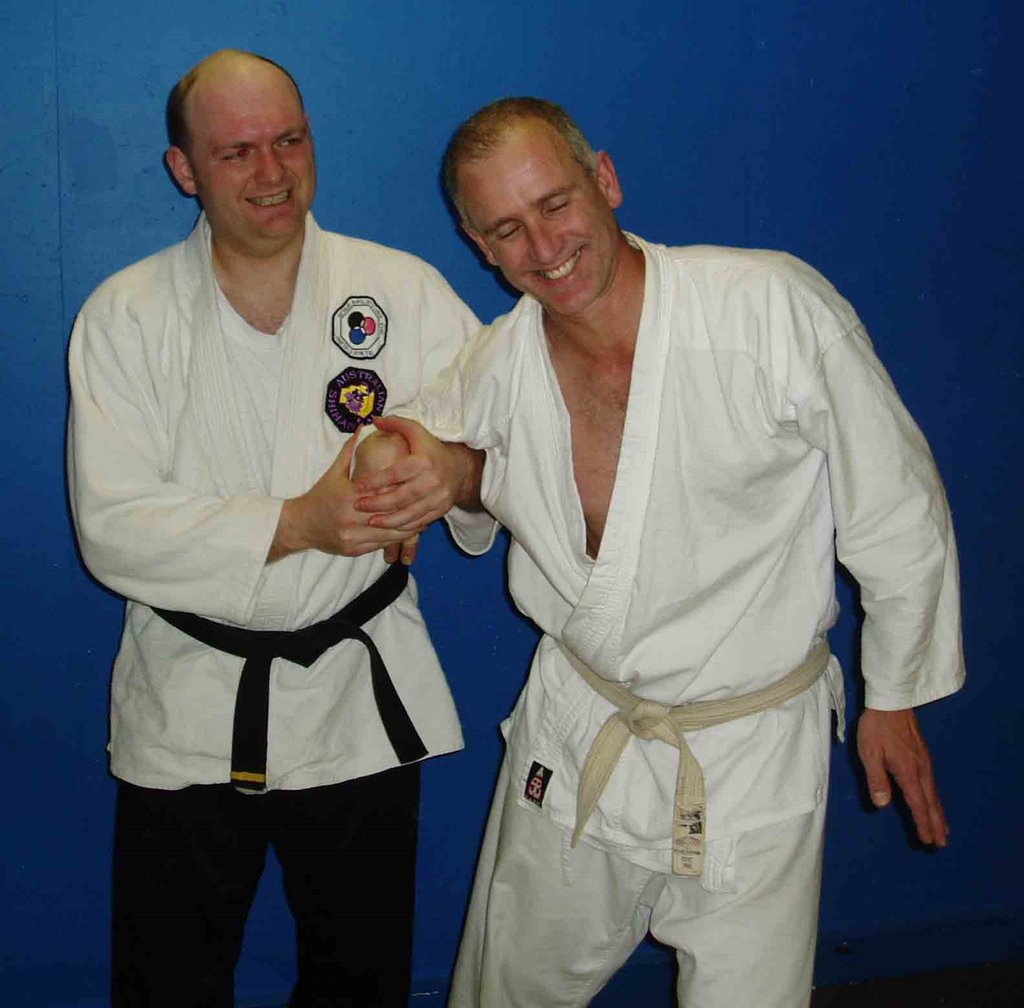
Q: Who's performing the technique?
A: That's me,
Sensei Dan, in the black belt, applying the technique.
David, one of my students, is receiving the technique.
Q: Does it have a name?
A: It's called the
Nurse's Grip Gooseneck. The Gooseneck refers to the bend in David's wrist. The Nurse's Grip refers to the means of entering the technique (not shown).
Q: Does it hurt?
A: Yes. In the picture I have stretched the wrist to the threshold of pain. If I were to continue further I would begin to damage the soft tissues, and eventually dislocate the joint.
Q [Nervously]: Is it safe?
A: Yes, under the supervision of a qualified instructor.
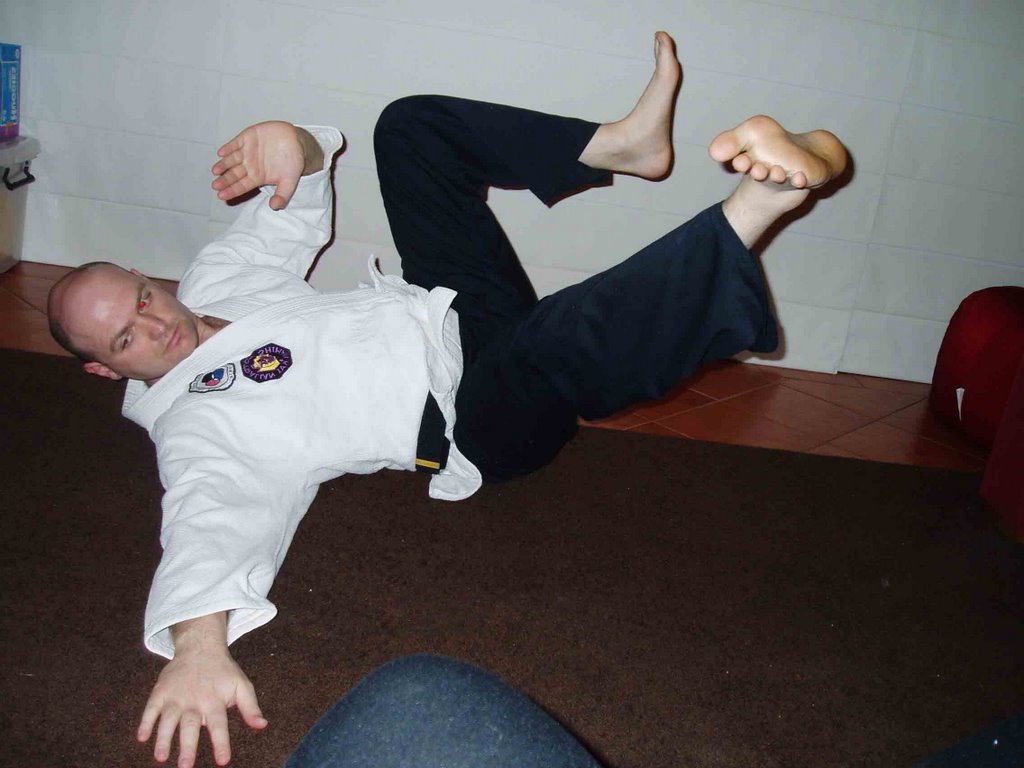
Q: But how do you practice it safely?
A: The technique is applied slowly (and smoothly), and when the receiver starts to feels the stretch he (or she) taps twice to indicate submission, and the applier releases the grip.
Q: If I were to use this technique in self-defence, would I have to cause serious damage for it to be effective?
A: Not necessarily. Self-defence is situation dependant. Once you are skilful enough you will be able to feel your attacker's body start to crumple from the pain and -- for example -- choose to escort him to a police station. Techniques such as this have built-in flexibility, allowing the practitioner discretion in level of escalation.
Q: Will it work in a fight?
A: Maybe. First, you need to know the technique inside-out. Second, an appropriate situation needs to arise in combat, and needs to be recognised and seized. Third, your assailant must fail to counter it. Fourth, if your assailant succeeds in countering, you need to flow into another technique.
Q: That sounds complicated.
A: Well, you build up to it over time. It's why a high standard of instruction and regular training are needed to learn sophisticated martial arts. You start by learning isolated techniques, in a standard format, and later practice them against specific attacks. Free-form practice comes later still.
Q: Are there many techniques like this?
A: In our syllabus there are around 80 standard restraint and control techniques, not counting variations. The Nurse's Grip Gooseneck is the second taught in the standard sequence.
 Q:
Q: Can I see more?
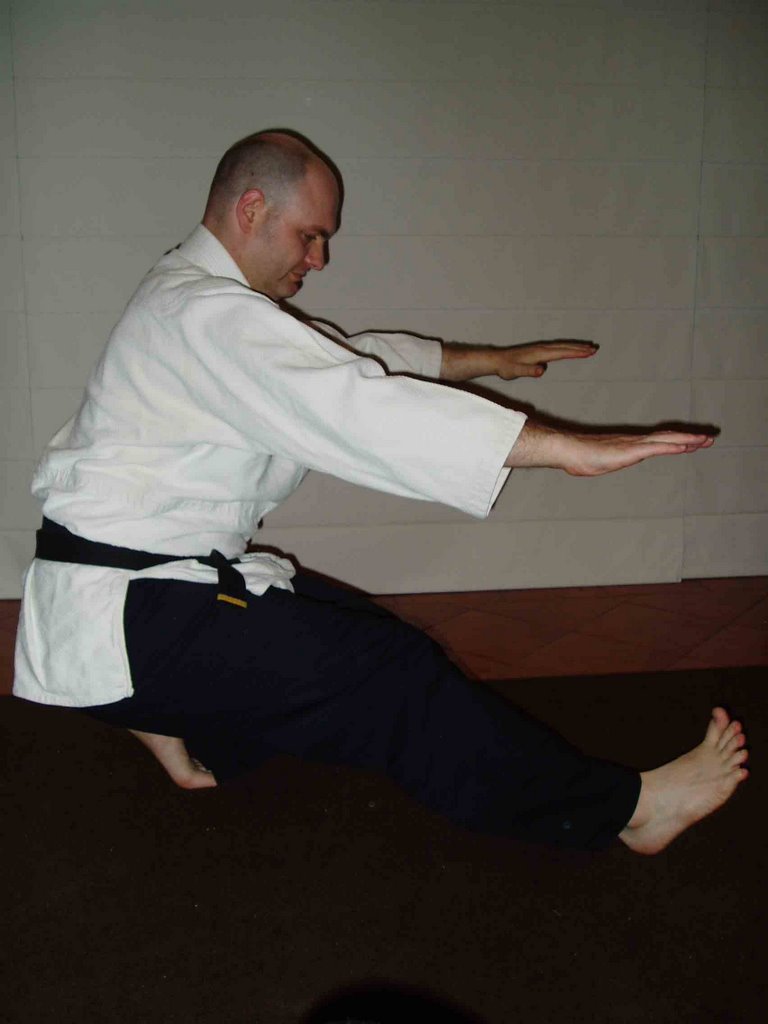
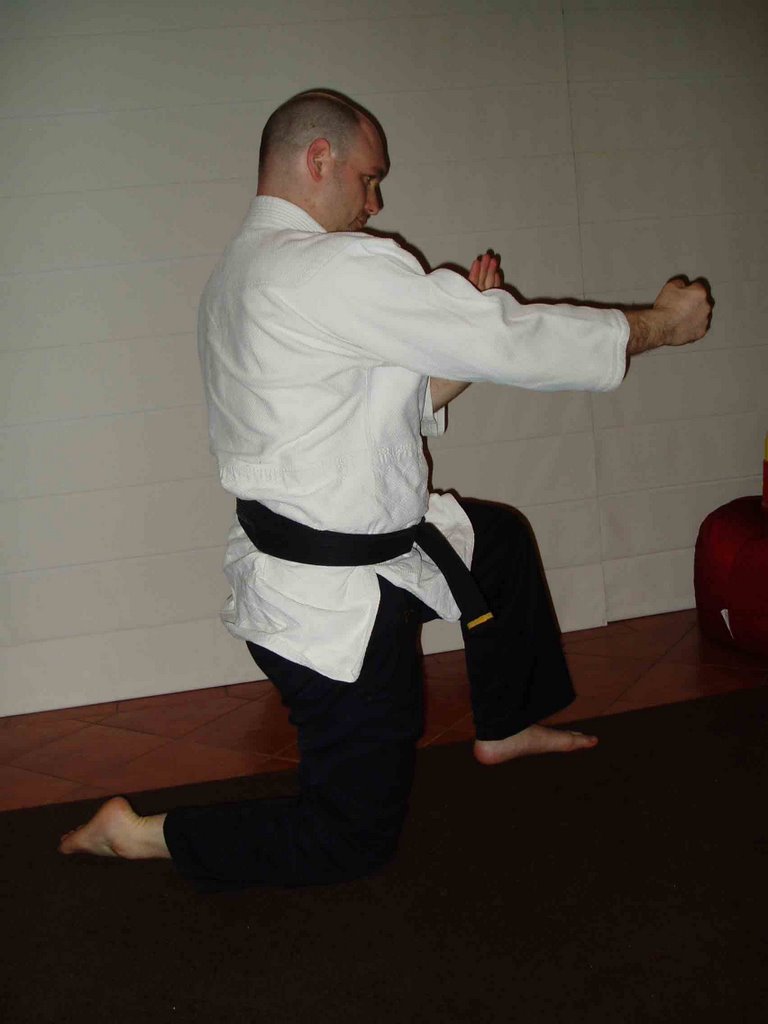
A: Sure. Here's another arresting technique, the
Come-along armbar.
Q: So you allow your students to apply these techniques to you?
A: Yes
.
Q: Why?
A: It allows me to feel for imperfections in their technique, and for them to feel how to receive a technique. Mainly I teach in a small group setting and students practice in pairs.
Q: Sounds great, but how do I find out more?
A: Check out the links down the side of this web-page and read some of the other posts. If you have a specific question, please leave a comment, and I'll get back to you.


 Spreading out the new cover for the first time
 Tucking it in
 A come-along armbar featuring excellent technique (including kuzushi)
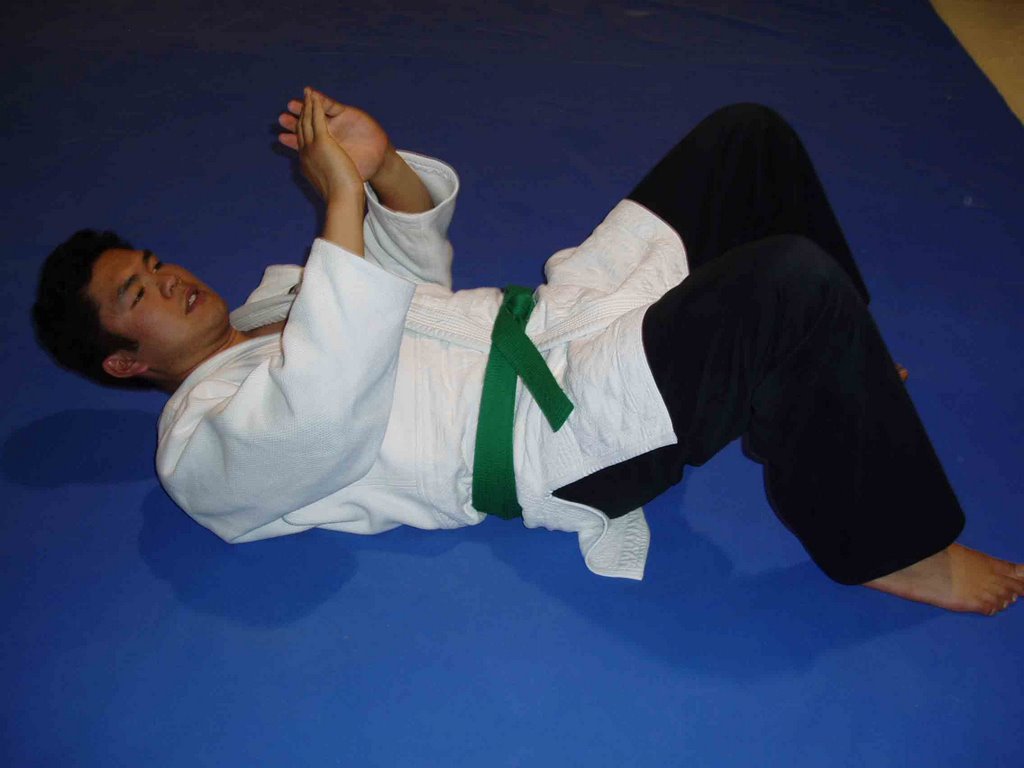


 Q: What is it?
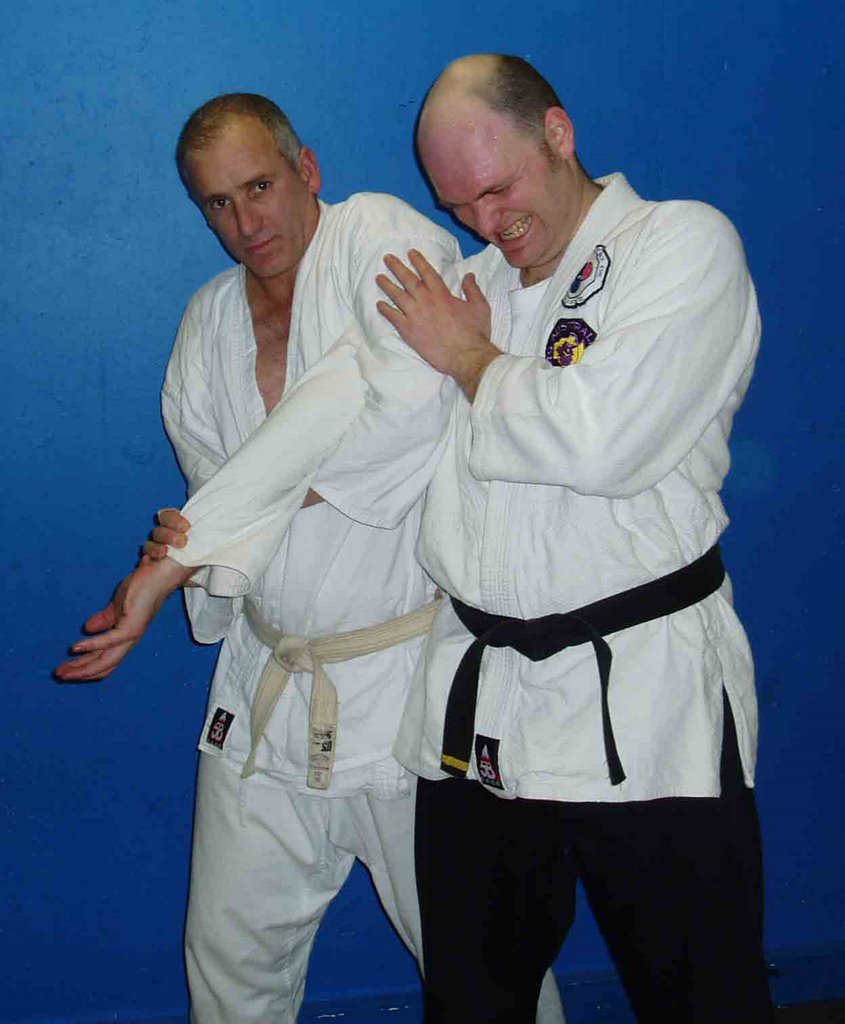 Q: Can I see more?


